NURBs Patch Modeling: Making a Mask
|
Understanding the limitation of a NURBs surface is helpful when approaching patch modeling. A NURBs surface has four edges and four corners, always, whether it is a plane, or sphere. By eventually splitting up or detaching a surface (like a sphere) into more than one surface -without changing the position of its CVs- tangency between surfaces is maintained, making them seemless by keeping the edges lined up and the adjoining CVs linear. |
|
|
|
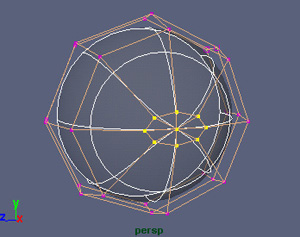
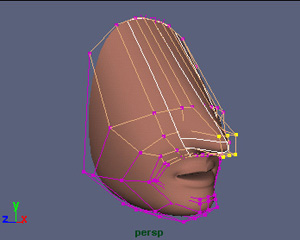
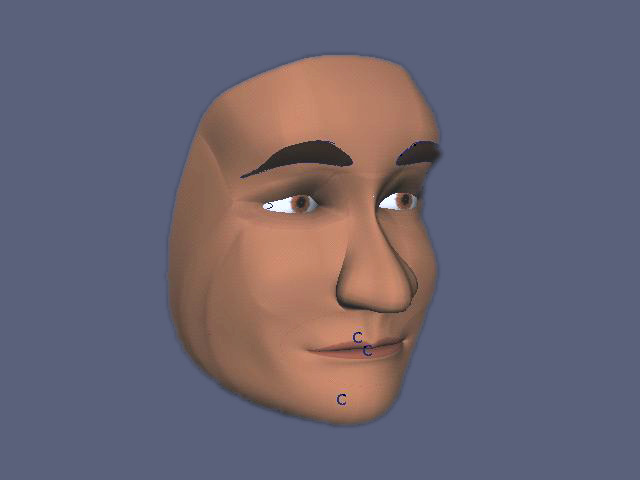
One approach to making a human mask is to begin with a half sphere, the pinch directed forward. Start giving detail to the mouth region by redirecting and repositioning the CVs running along the U directional hulls. Insert only as many span-isoparms as needed for detail, striving to keep the model as light as possible. |
|
|
|
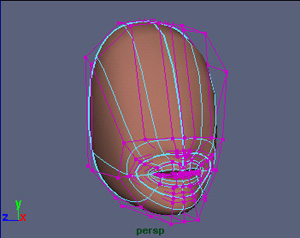
As you work your way out from the mouth region, detach surfaces as needed into patches to increase CV control for sculpting multiple surface areas that meet, such as the bridge of the nose, the nostril and the inner cheek. |
|
|
|
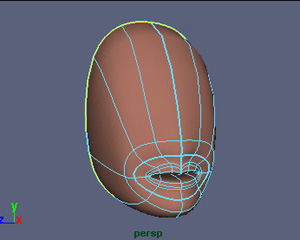
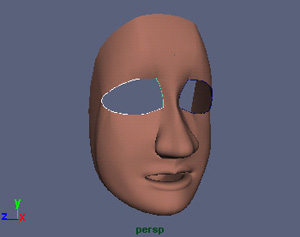
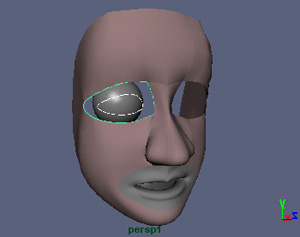
There can never be a real hole in a NURBs surface, but by lining up edges that intersect from multiple surfaces, the isoparms can be offset and then attached to create one curve that is perfectly lined up with its original edges. If the curve is duplicated and projected against a sphere or eye, both curves can be used to loft a surface that is flush with the illusory hole and the eyeball, creating a skin covering the eye-socket in the surface of the face. |
|
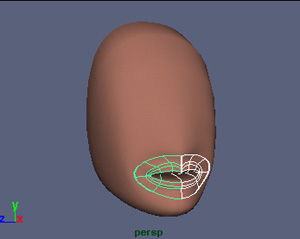
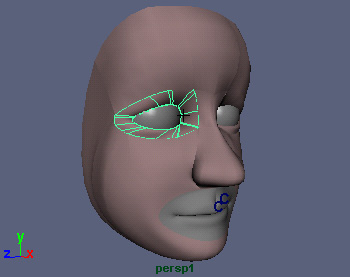
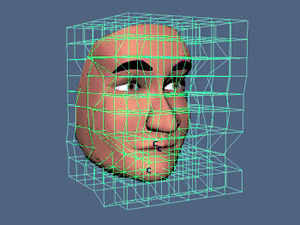
When the generic mask is ready, personal character can be applied to the face-mask by selecting the multiple patches and creating a lattice. The lattice will treat them as one unified surface, allowing deforming to be done easily. |